-pyqt 설치
sudo apt-get install python3-pyqt5sudo apt-get install qttools5-dev-tools -ui 사용
1.
1)윈도우에서 C:\Users\w\anaconda3\Library\bin 에 있는 qt design으로 ui 파일 생성
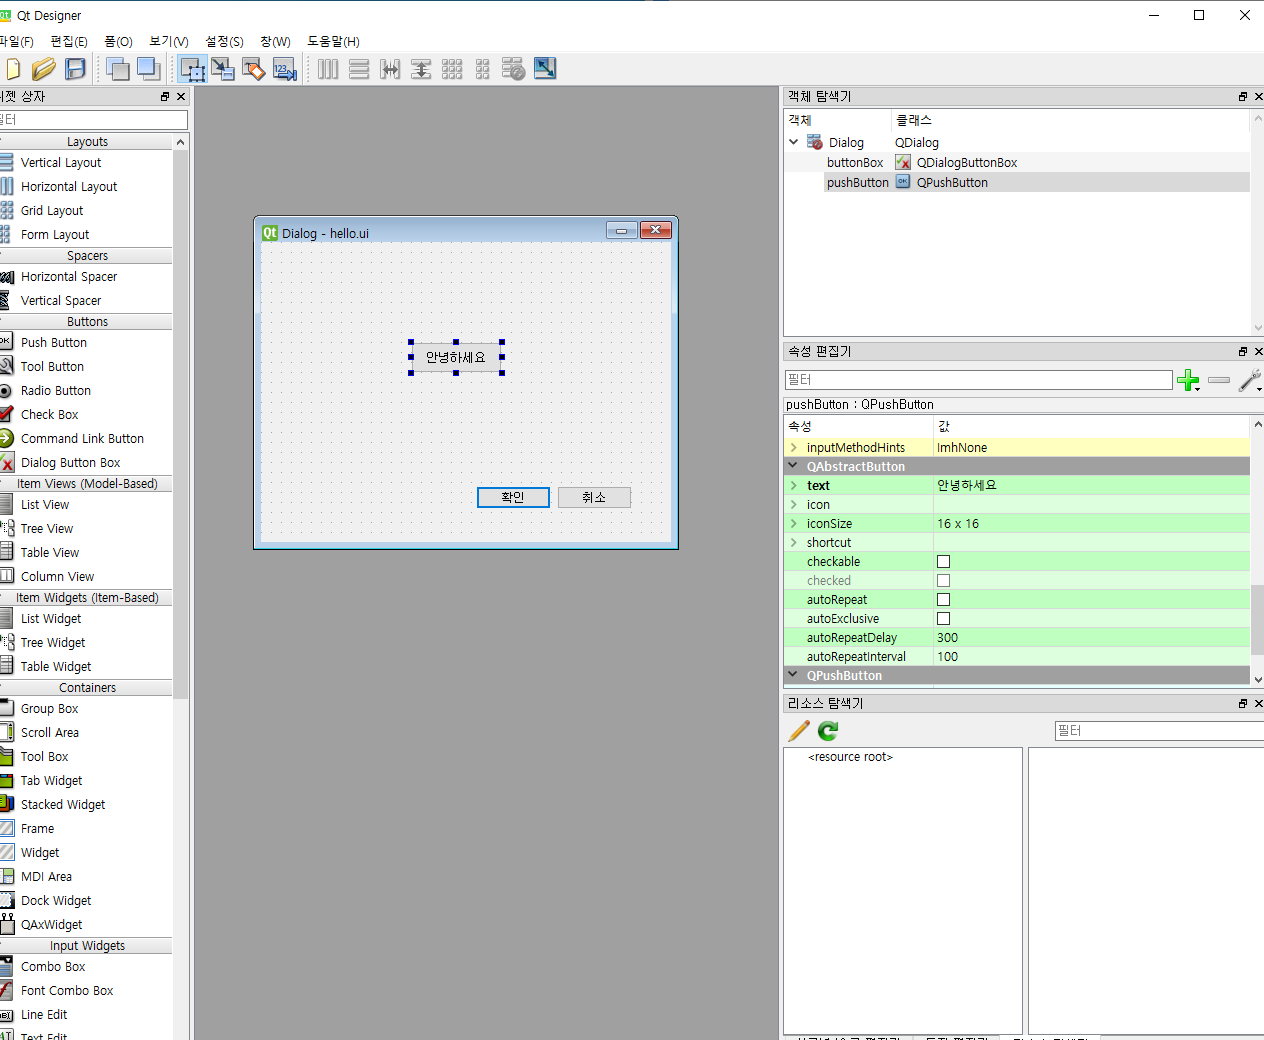
2)cmd에서 pyuic5 -x hello.ui -o hello.py (ui파일을 py파일로 생성)
3)py파일 안의 내용을 복사해서 라즈베리파이에서 실행
# -*- coding: utf-8 -*-
# Form implementation generated from reading ui file 'hello.ui'
#
# Created by: PyQt5 UI code generator 5.9.2
#
# WARNING! All changes made in this file will be lost!
from PyQt5 import QtCore, QtGui, QtWidgets
class Ui_Dialog(object):
def setupUi(self, Dialog):
Dialog.setObjectName("Dialog")
Dialog.resize(400, 300)
self.buttonBox = QtWidgets.QDialogButtonBox(Dialog)
self.buttonBox.setGeometry(QtCore.QRect(30, 240, 341, 32))
self.buttonBox.setOrientation(QtCore.Qt.Horizontal)
self.buttonBox.setStandardButtons(QtWidgets.QDialogButtonBox.Cancel|QtWidgets.QDialogButtonBox.Ok)
self.buttonBox.setObjectName("buttonBox")
self.pushButton = QtWidgets.QPushButton(Dialog)
self.pushButton.setGeometry(QtCore.QRect(150, 100, 91, 31))
self.pushButton.setObjectName("pushButton")
self.retranslateUi(Dialog)
self.buttonBox.accepted.connect(Dialog.accept)
self.buttonBox.rejected.connect(Dialog.reject)
QtCore.QMetaObject.connectSlotsByName(Dialog)
def retranslateUi(self, Dialog):
_translate = QtCore.QCoreApplication.translate
Dialog.setWindowTitle(_translate("Dialog", "Dialog"))
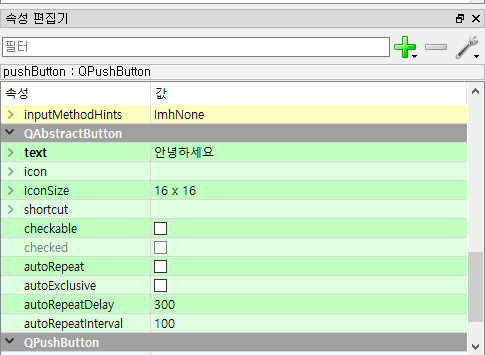
self.pushButton.setText(_translate("Dialog", "안녕하세요"))
if __name__ == "__main__":
import sys
app = QtWidgets.QApplication(sys.argv)
Dialog = QtWidgets.QDialog()
ui = Ui_Dialog()
ui.setupUi(Dialog)
Dialog.show()
sys.exit(app.exec_())
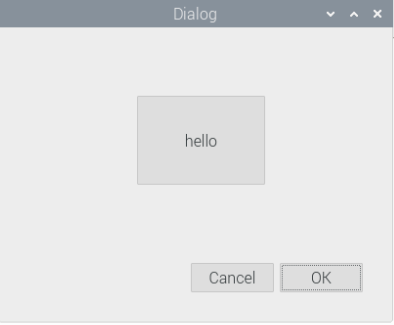
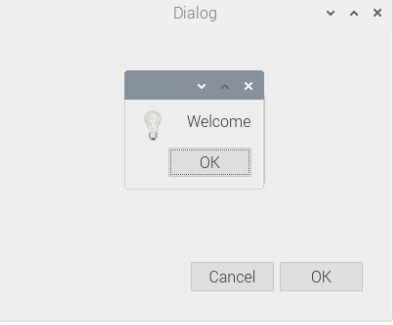
- hello 누르면 welcome창 뜸
# -*- coding: utf-8 -*-

# Form implementation generated from reading ui file 'hello.ui'
#
# Created by: PyQt5 UI code generator 5.9.2
#
# WARNING! All changes made in this file will be lost!

from PyQt5 import QtCore, QtGui, QtWidgets
from PyQt5.QtWidgets import QMessageBox

def button_click():
    print("Button Pressed")
    QMessageBox.information(Dialog, 'Example','Welcome')

class Ui_Dialog(object):
    def setupUi(self, Dialog):
        Dialog.setObjectName("Dialog")
        Dialog.resize(400, 300)
        self.buttonBox = QtWidgets.QDialogButtonBox(Dialog)
        self.buttonBox.setGeometry(QtCore.QRect(30, 240, 341, 32))
        self.buttonBox.setOrientation(QtCore.Qt.Horizontal)
        self.buttonBox.setStandardButtons(QtWidgets.QDialogButtonBox.Cancel|QtWidgets.QDialogButtonBox.Ok)
        self.buttonBox.setObjectName("buttonBox")
        self.pushButton1 = QtWidgets.QPushButton(Dialog)
        self.pushButton1.setGeometry(QtCore.QRect(140, 70, 131, 91))
        self.pushButton1.setObjectName("pushButton1")


        self.retranslateUi(Dialog)
        self.buttonBox.accepted.connect(Dialog.accept)
        self.buttonBox.rejected.connect(Dialog.reject)
        QtCore.QMetaObject.connectSlotsByName(Dialog)

    def retranslateUi(self, Dialog):
        _translate = QtCore.QCoreApplication.translate
        Dialog.setWindowTitle(_translate("Dialog", "Dialog"))
        self.pushButton1.setText(_translate("Dialog", "hello"))
        self.pushButton1.clicked.connect( button_click )

if __name__=="__main__":
    import sys
    app=QtWidgets.QApplication(sys.argv)
    Dialog=QtWidgets.QDialog()
    ui=Ui_Dialog()
    ui.setupUi(Dialog)
    Dialog.show()
    sys.exit(app.exec_())
- 라즈베리 안에 있는 Qt 5 Designer 실행 후 ui 생성 후 저장 (a.ui)
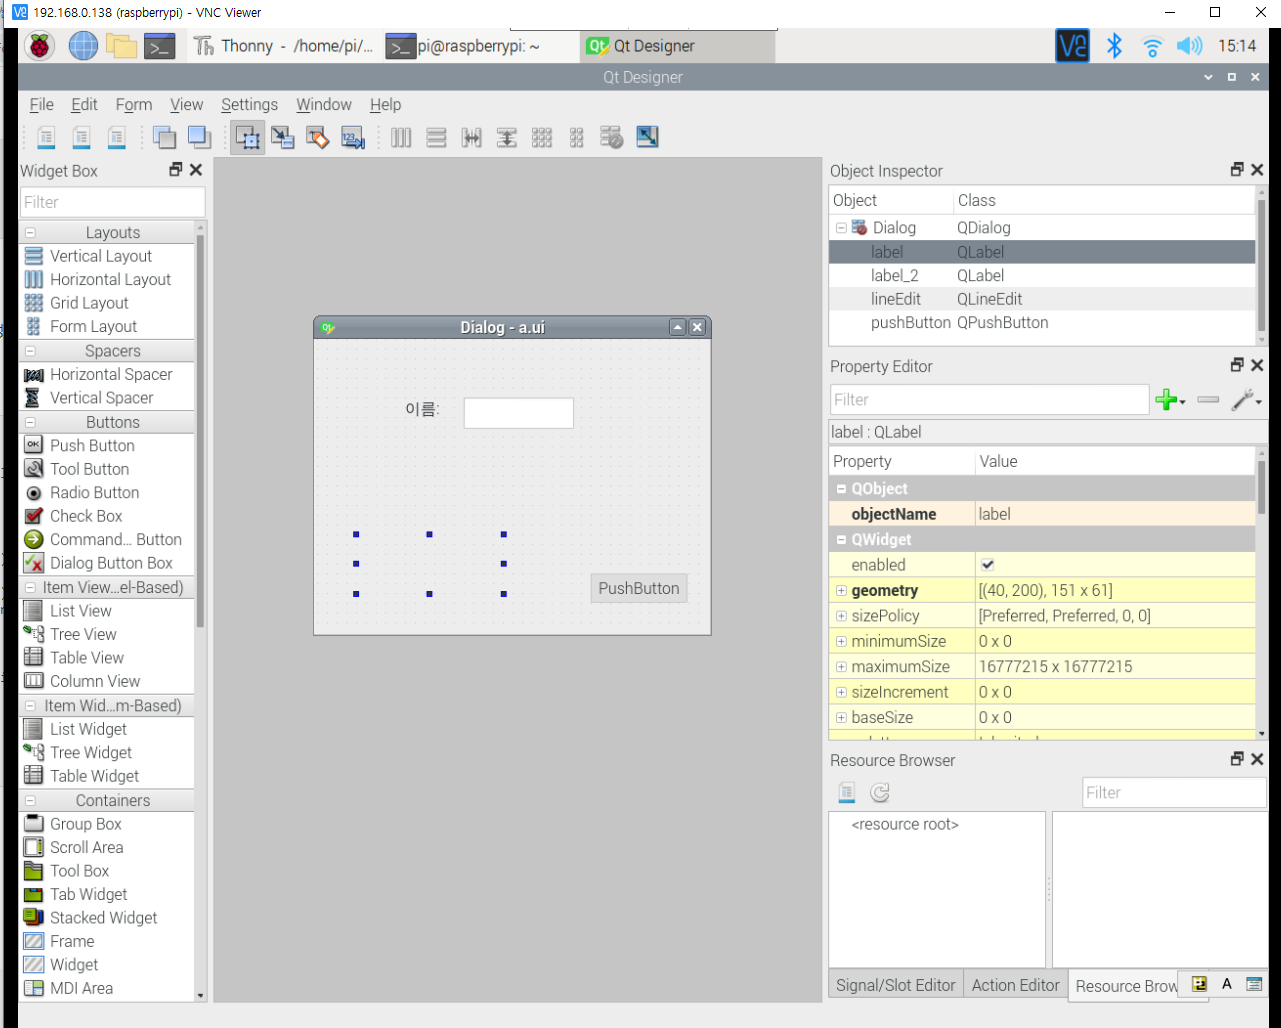
- 파이썬 파일과 ui파일이 같은 폴더에 있어야 함
loadUi('a.ui',self) : 파일 이름 적기
import sys
from PyQt5.QtCore import pyqtSlot
from PyQt5.QtWidgets import QApplication, QDialog
from PyQt5.uic import loadUi

class MyQtProgramming(QDialog):
    def __init__(self):
        super(MyQtProgramming, self).__init__()
        loadUi('a.ui',self)
        self.setWindowTitle("My Hello Program")
        self.pushButton.clicked.connect(self.on_pushButton_clicked)

    @pyqtSlot()
    def on_pushButton_clicked(self):
        self.label.setText('Welcome : '+self.lineEdit.text())

app=QApplication(sys.argv)
widget=MyQtProgramming()
widget.show()
sys.exit(app.exec_())
'Raspberry Pi' 카테고리의 다른 글
| 웹캠/ 얼굴인식 블로그 (0) | 2020.10.20 |
|---|---|
| 라즈베리 파이 백업하기 (0) | 2020.10.20 |
| 라즈베리파이 웹캠 설치하기 / opencv 설치 (1) | 2020.10.19 |
| 라즈베리파이 본격수업 3일차 (0) | 2020.10.19 |
| 라즈베리파이3) 초음파 센서를 이용하여 거리 출력하기(LED로 거리 색깔 조절) (0) | 2020.10.16 |